

Content
Service Area Pages
Dedicated pages for each place you serve.
A Service Area Page is a whole page about one town. It has its own web address, its own photo, and its own words. One entry here is one town page.
Go to Content, then Business Info, then Service Area Pages.
How this differs from Service Area
The two screens sound alike, so it is worth being clear.
Service Area is a list of names. It sits in your footer and says which towns you cover. Nothing more.
Service Area Pages are real pages. Each one has an address a customer can land on from a search, room for a photo and a few paragraphs, and its own wording for Google.
Most businesses use both. The list says where you work. A page is for a town worth a bigger push.
How this differs from Branches
A Branch is a place customers come to you, such as a shop
or an office, with a front door and opening hours. Branch pages live at
/locations/.
A Service Area Page is a town you travel to. You have no building there. Its
page lives at /service-areas/. Do not make a branch for a town you only
work in.
Making a town page
Click Add New, fill in the boxes, then click Save.
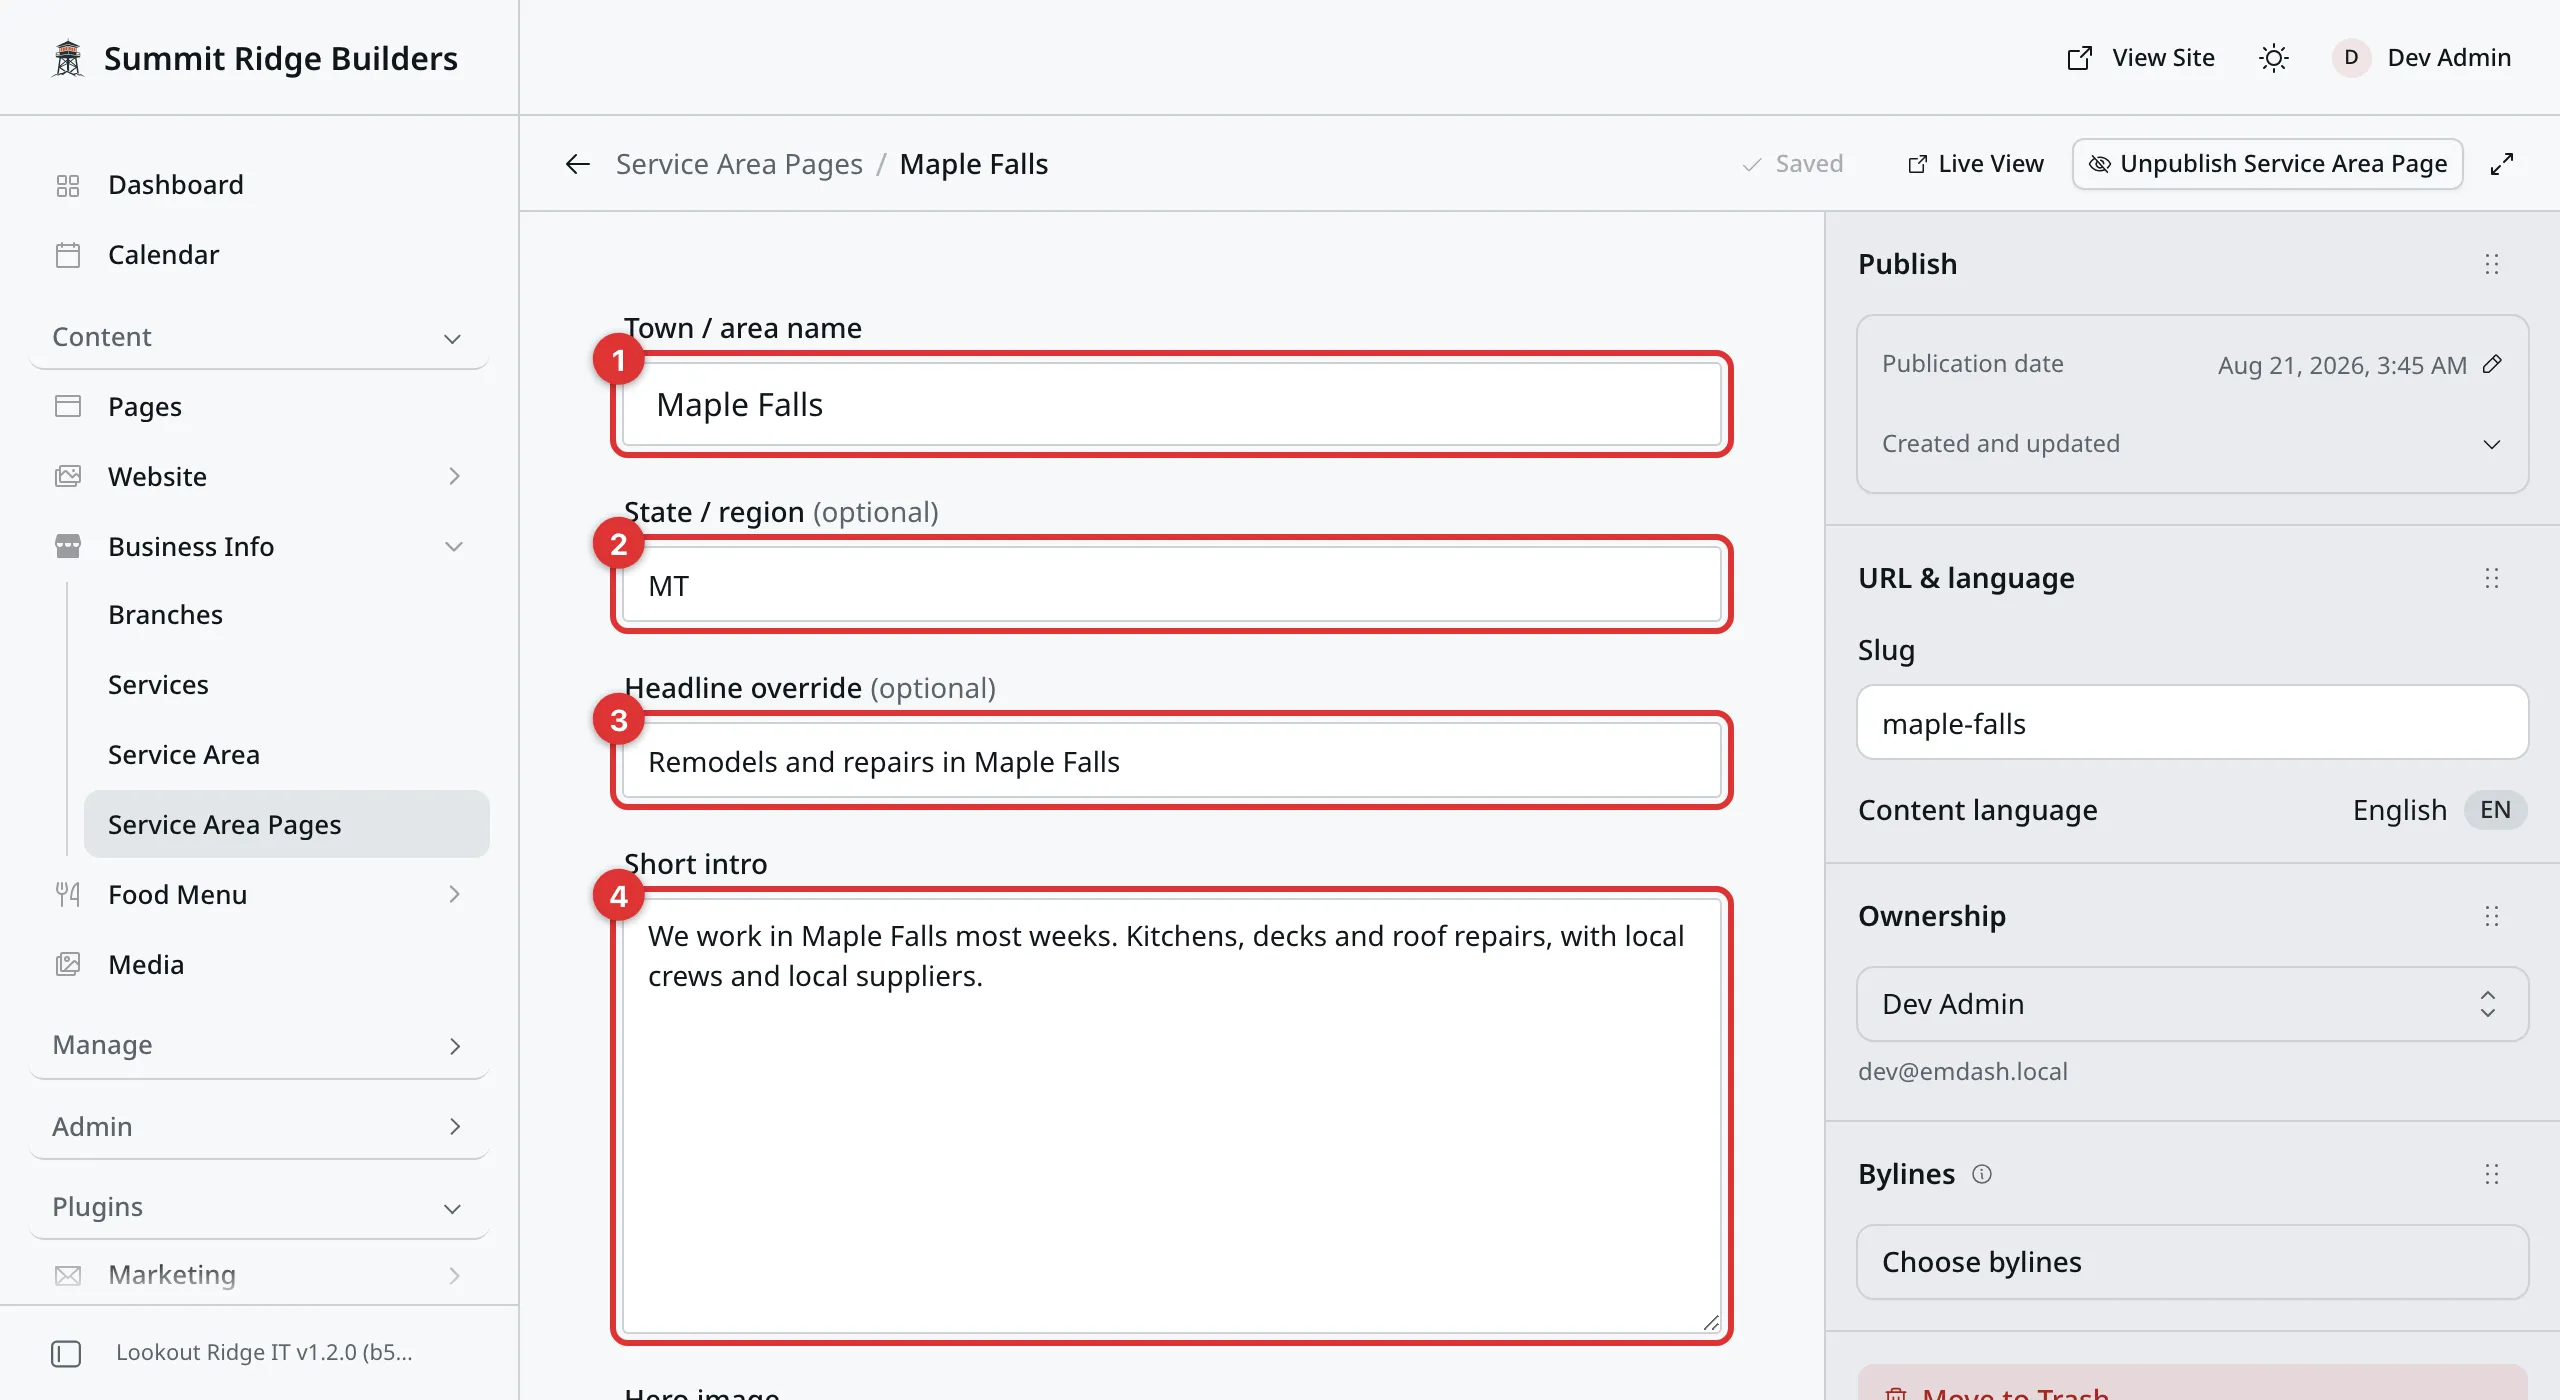
The top of the form. Only the town name is required.
1. Town / area name. The place, such as “Maple Falls”. This also sets the page’s web address.
2. State / region. The short code, such as MT. It shows after the town
name, as “Maple Falls, MT”.
3. Headline override. The big heading at the top of the page. Leave it empty and your website writes one for you: “Service in Maple Falls, MT”. Fill it in when you want your own words, such as “Remodels and repairs in Maple Falls”.
4. Short intro. A line or two under the heading. It is also the wording Google shows under your link, so make it read like a sentence.
Hero image is the wide photo at the top. Click Select image and pick one. Media walks through the picker.
Body is the rest of the page. Type into it like any page, and add blocks the same way. Pages covers blocks.
Warning
The Slug fills itself in from the town name. It is the last part of the page’s web address, and it should be set once, while the page is new.
If you change it on a live page, your website sends the old address to the new one for you, once you publish. Search results still show the old address for a while, so do not change it for no reason.
Then click Publish now, then Publish now again to confirm. The page is live that second.
Showing local photos on the page
A town page works much harder with photos of work you did in that town.
Put those photos in an album of their own first. Gallery walks through making one. Then point a Gallery block at it.
- Click at the end of the Body, then press Enter for a clean line.
- Type
/and thengallery. Two choices called Gallery appear. Pick the one that reads “Photo grid from your gallery albums”. The other one is a set of photos you pick by hand. - Fill in the form, then click Insert.
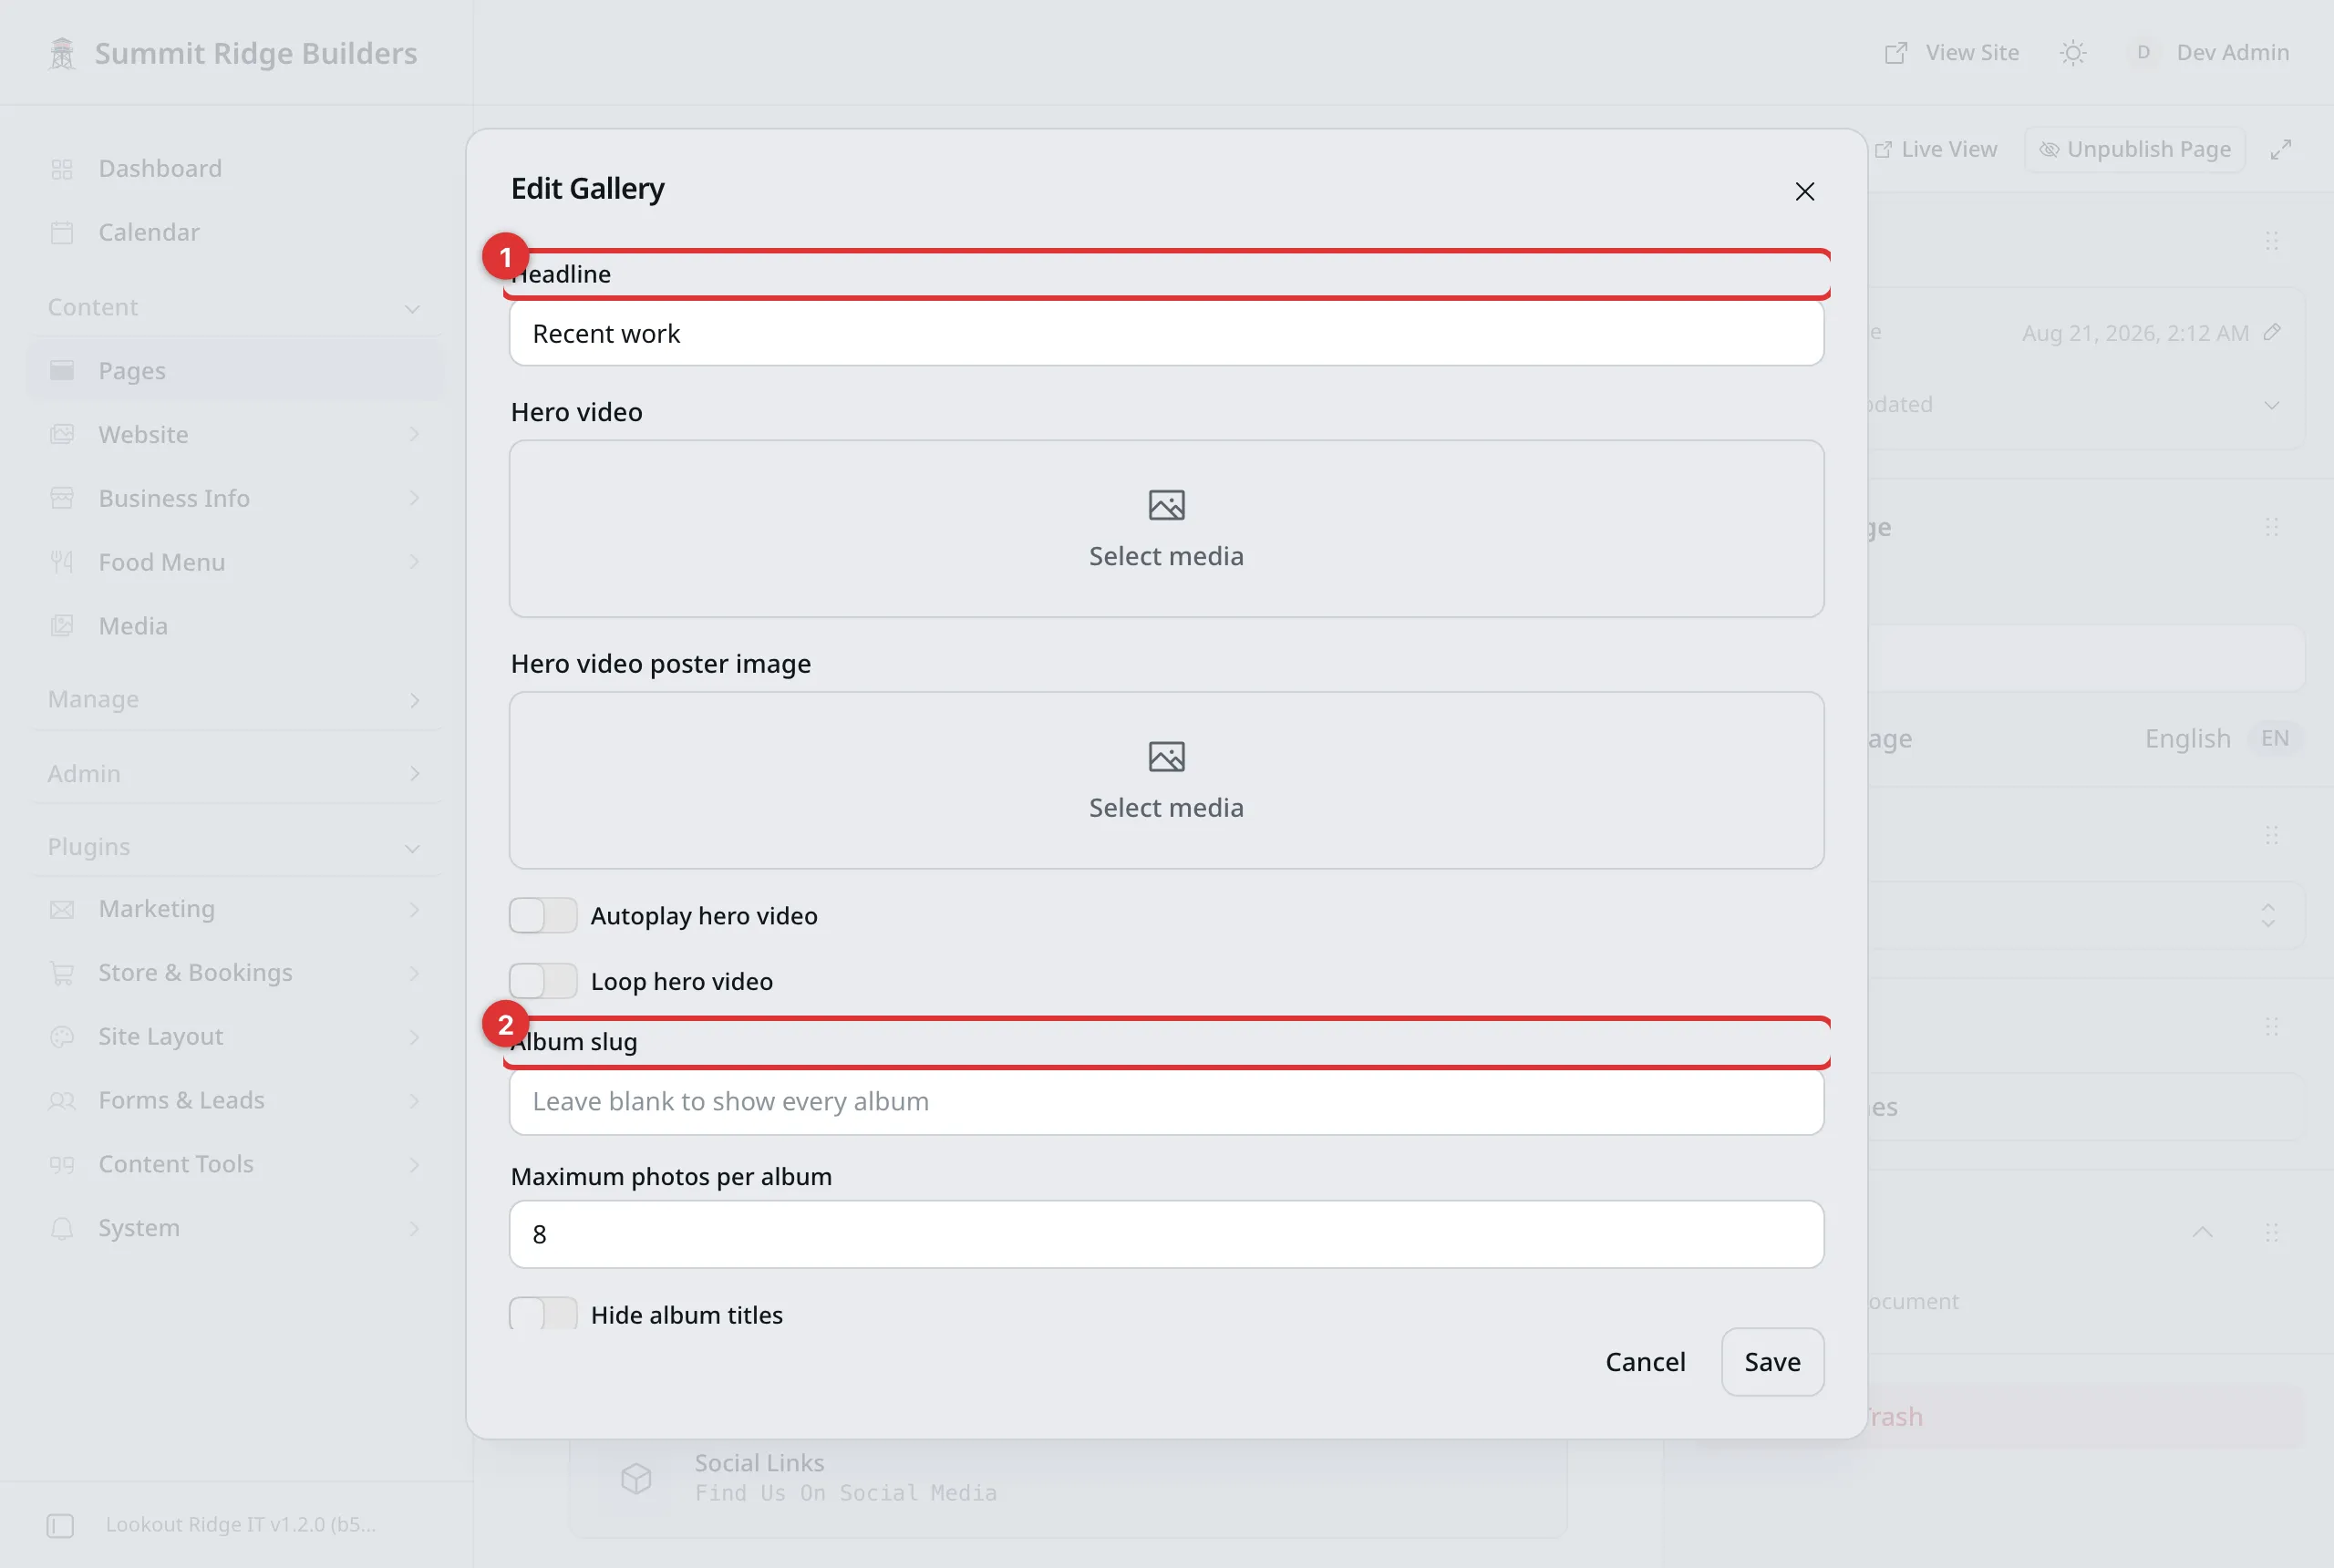
The Album slug box is the one that matters here. The same form opens again if you click the block and then the pencil.
1. Headline. The title above the photos, such as “Recent work near Maple Falls”.
2. Album slug. The album to show. Type the album’s slug and only that album’s photos appear. Leave it empty and every album shows, which is not what you want on a town page.
An album’s slug is on the right when you have that album open. It is the album
title in lower case with dashes, such as bayview-street-remodel.
Then click Publish changes, then Publish changes again to confirm.
What Google shows
A town page has the same SEO boxes and Search & social box as every page. What Google shows explains each one.
Two things are worth knowing about town pages:
- Leave SEO Title empty and your heading is used, with your business name after it.
- Leave Meta Description empty and your Short intro is used.
So filling in the heading and the intro well is most of the job. Only reach for the SEO boxes when you want different wording there.
Where the page shows up
At its own address. “Maple Falls” lives at
yoursite.com/service-areas/maple-falls.
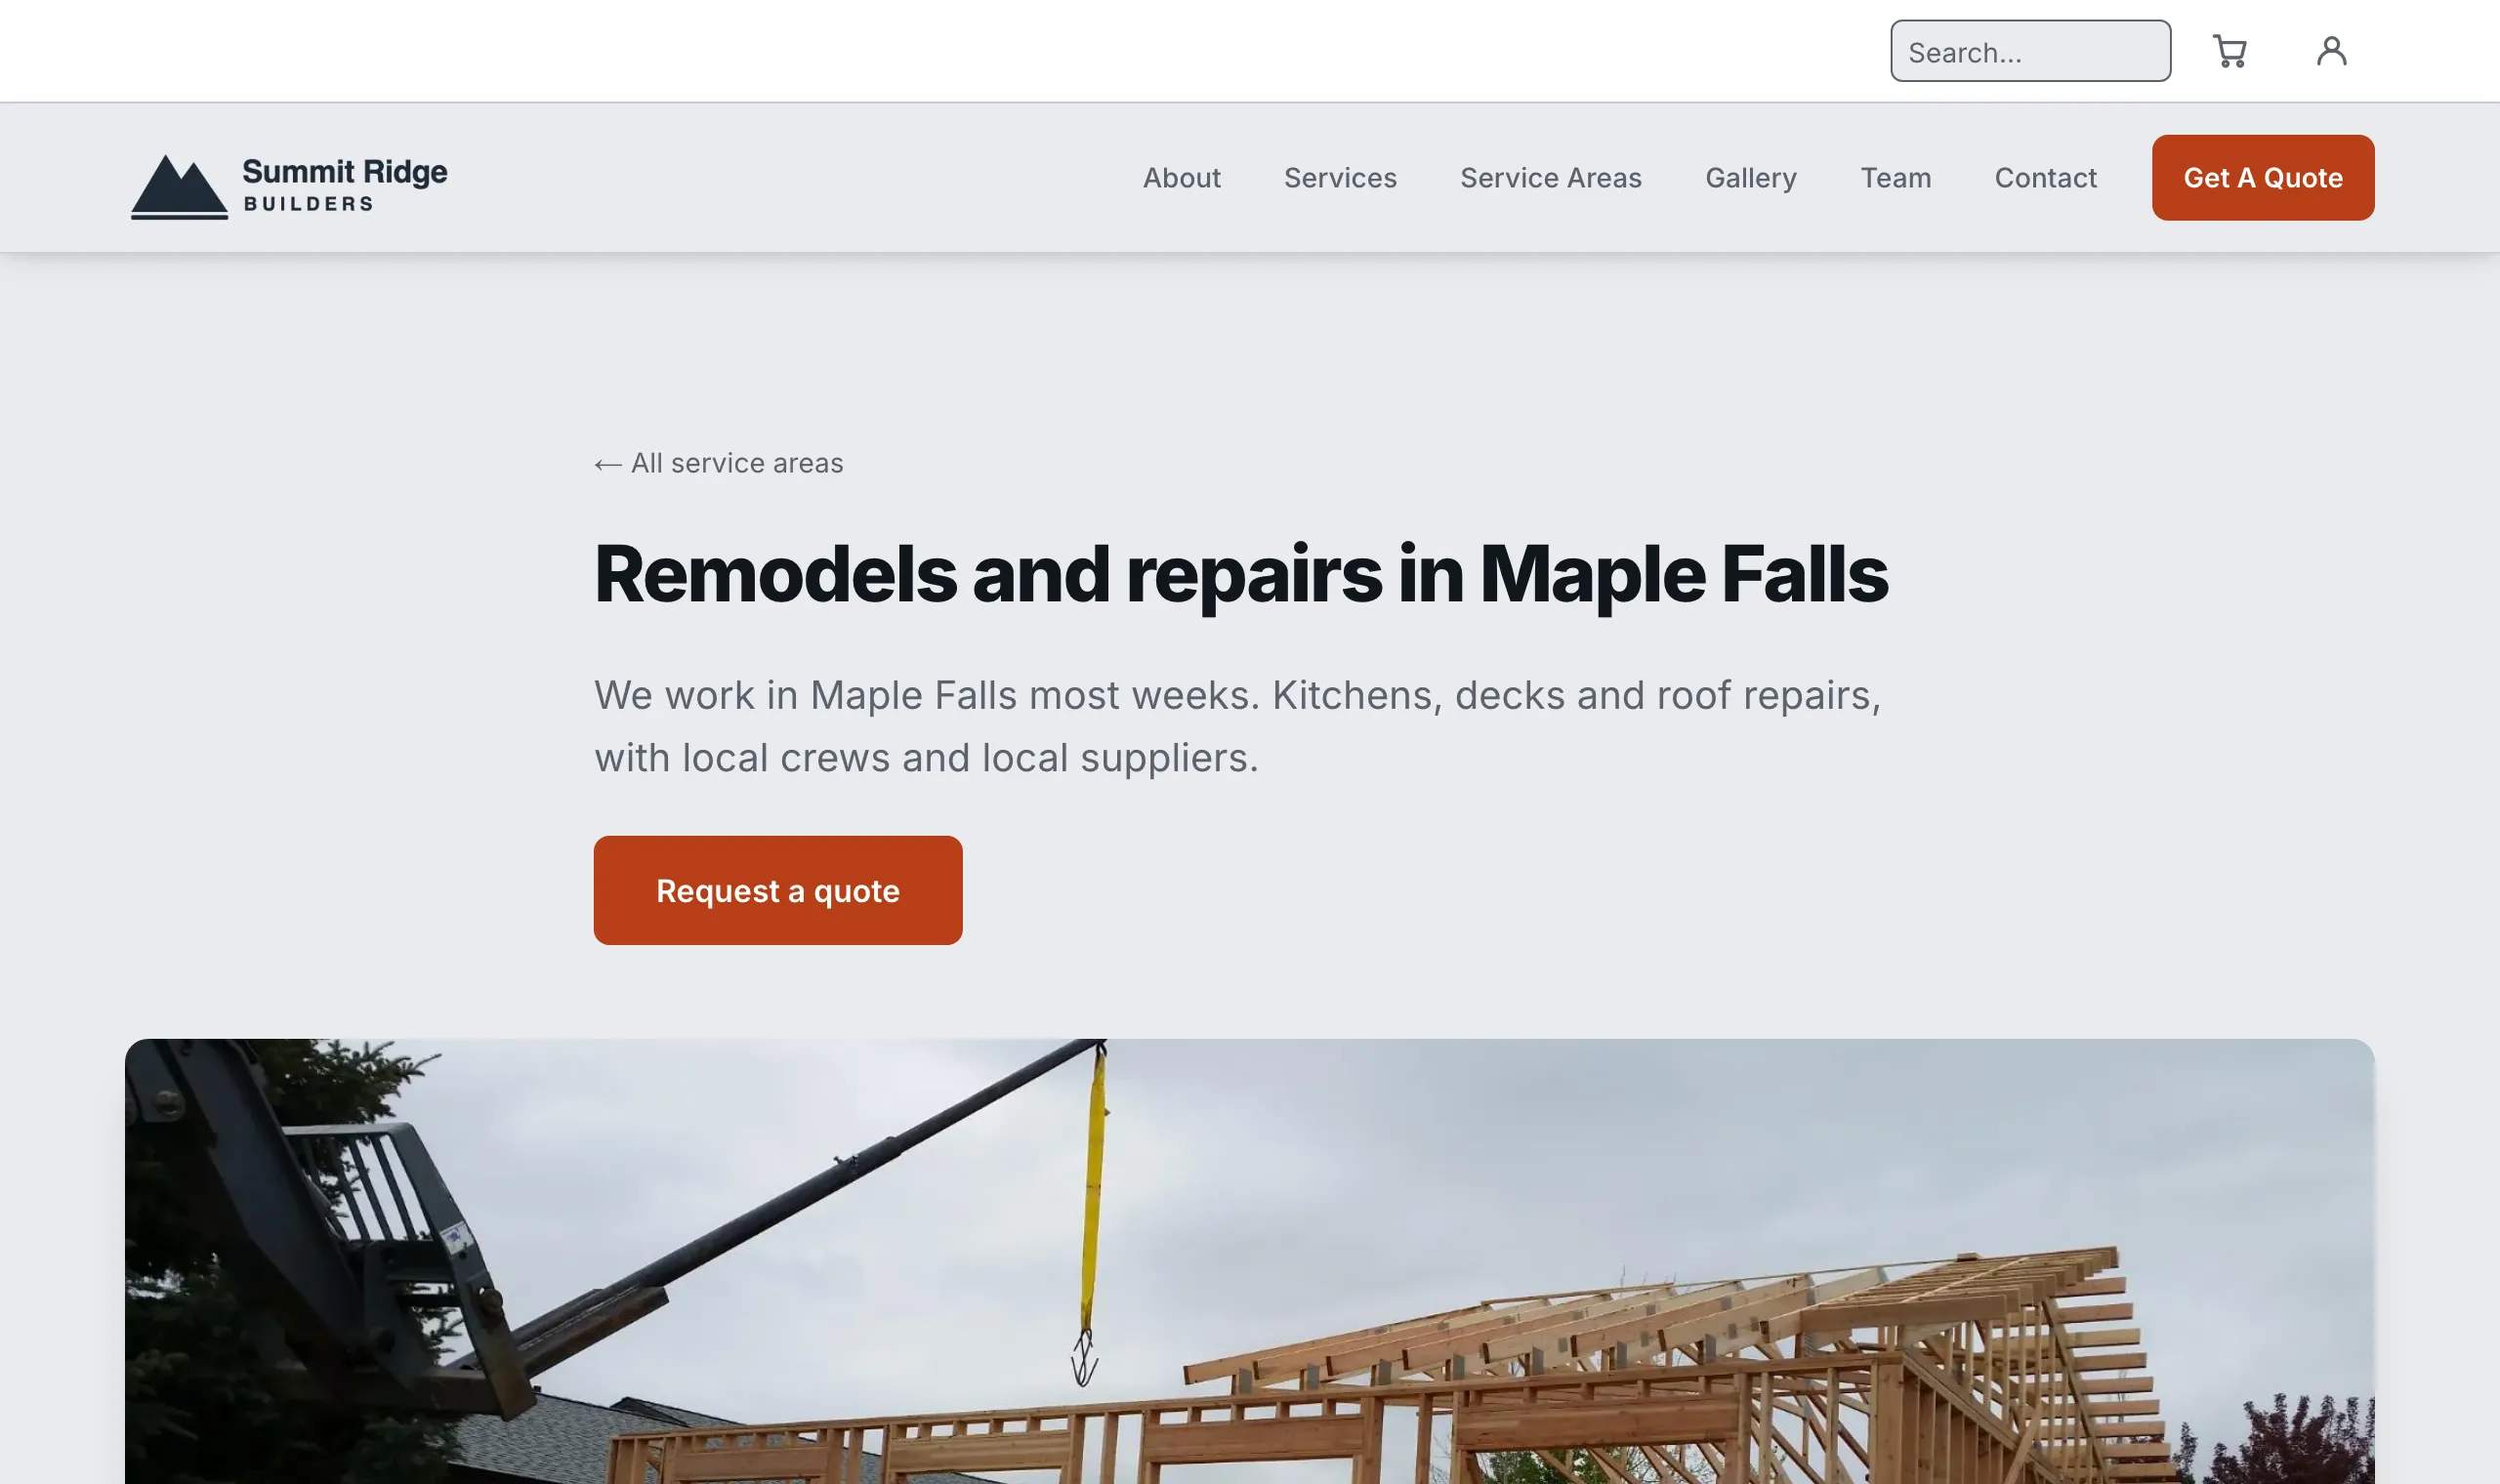
The heading, the intro and the photo all come from the form.
On your Service Areas page. Every town page you publish is listed there on its own, as a card with the photo and the intro. You do not have to add it.
In a Service Areas block. The same cards can also show partway down another page, such as your home page. Pages shows how blocks are added.
The order town pages appear in
The Sort order box at the bottom of the form sets it. The lowest number goes first, and an empty box counts as zero. Two towns with the same number fall back to A to Z.
Featured is a switch next to it. On its own it changes nothing. It only matters when a Service Areas block is set to show featured towns only.
Taking a town page down
Warning
Both of the buttons below take the page off your website the moment you click. Its address stops working, and its card vanishes from your Service Areas page. Any link or search result pointing at it lands on nothing.
Unpublish Service Area Page hides it and keeps it. Publishing brings it back word for word.
Move to Trash is for a page you are done with. It goes to the Trash tab, so you can still get it back.
Saving and publishing covers both.
Last updated Oct 20, 2026