
Content
Social Links
Links to your social media profiles.
Social Links is the list of profiles you want people to follow: Facebook, Instagram, your Google Business Profile and the rest.
It lives on the SEO page, as one of four cards on the Business info tab:
- Go to Plugins, then Content Tools, then SEO.
- Click the Business info tab.
- Find the Social links card.
Only Editors and Admins can open this tab. Each card saves on its own. Business Profile explains the checks at the top of a card, and how Save and Publish work there.
Important
Admin, then Settings, also has a Social Links row. It opens this same card, so there is only one list of your profiles.
Where the links show up
In your footer. Most styles show them as a row of icons near the bottom of every page, under the words you put in Heading.
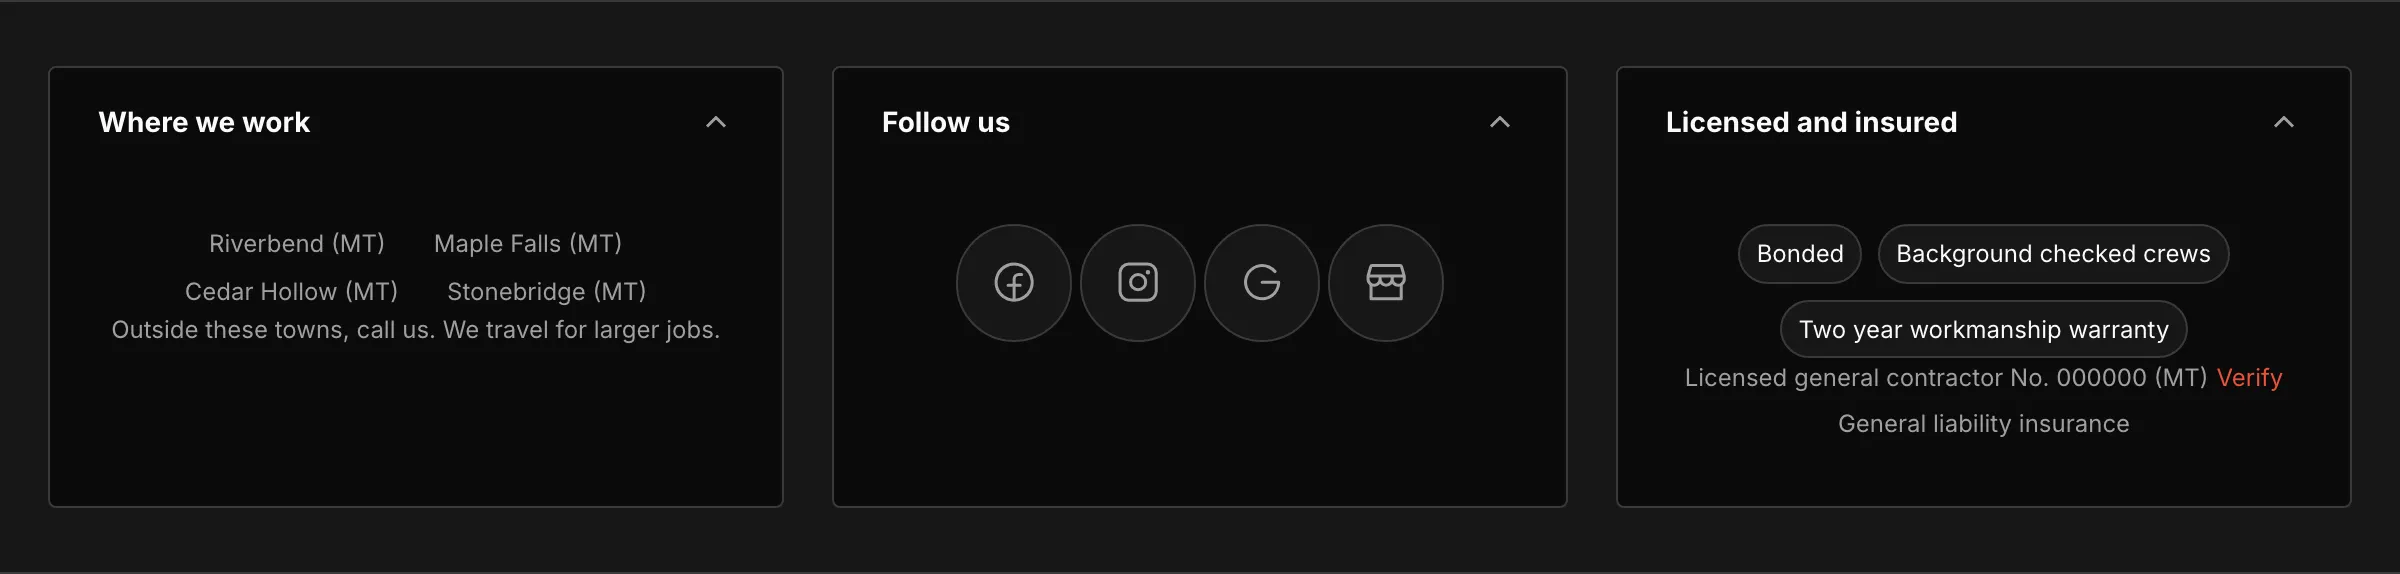
The middle box is this card. Your footer may be laid out differently.
In a Social Links block. The same profiles can also show partway down a page, bigger. It is the same one list, so you only ever type a profile once. Pages shows how a block is added.
Search engines read these links too. They help tie your profiles to your business. And if you add a Google Business Profile, the button under a Map block opens it.
The Heading box
Heading is the words above the icons, such as “Follow us”. Leave it empty and no heading shows.
Adding a profile
- Click Add profile. An empty row opens.
- Pick the Platform.
- Paste the address into Handle or link.
- Click Save at the bottom of the card. Your website changes right away.
Platform. Click the box and pick one: Facebook, Instagram, Google Business Profile, Yelp, Nextdoor, YouTube, TikTok, LinkedIn, X (Twitter), Pinterest, Threads, WhatsApp or GitHub. Your choice sets the icon. There is nothing to pick or upload.
Handle or link. Where the icon sends people: your handle, such as
@yourbusiness, or the whole address of your profile.
Label. Words printed next to the icon, such as “Read our reviews”. Leave it empty and the icon stands on its own, which is what most sites want.
At the end of each row, ↑ and ↓ move it up or down. Remove takes it out.
Tip
Open the profile in your browser, click the address bar, and copy the whole address. Paste that into Handle or link. It works for every platform, and it never guesses wrong.
When an icon does not show up
Important
A row that cannot make a working link is dropped, and nothing on your website tells you. The icon simply never turns up. A row with nothing in Handle or link is left off too.
The usual cause is a short handle where the whole web address was needed. Google Business Profile always needs the whole address. On the other platforms a short handle usually works, and the whole address always does.
Save, then look at the footer of your live website and count the icons. If one is missing, paste the whole address into that row.
Changing or removing a profile
To change one, type over what is in the boxes, then click Save at the bottom of the card.
Warning
Removing a row takes that icon off every page of your website as soon as you save.
To remove one, click Remove on its row, then click Save.
Changed your mind before saving? Discard changes puts the card back the way it was.
Last updated Oct 20, 2026