

Plugins
Media Folders
Organizing the media library into folders.
Not every website has Media Folders. If it is not in your menu, nothing is wrong.
Media Folders is a tidying tool. Your Media library is one long grid of files, newest first. A folder is a named group inside it, so you can keep one job, or one year, or one van, together.
Go to Plugins, then Media Folders. It sits in the Content Tools group. Only an Admin can use it.
Important
Your Media library now has folders of its own, too. You make those with New folder on the Media screen, and they only sort your files. The Media page covers them.
This page is about a different thing: Media Folders here, which fill your photo albums. The two do not share folders.
Each folder comes with a photo album of the same name, under Content, then Gallery. Put photos in the folder and they turn up in that album too.
Making a folder
- Type a name in Folder name. Something a person would say out loud, like “Kitchen jobs”.
- Leave Slug (optional) empty. The panel fills it in for you.
- Click Create media folder.
The folder appears below, with its name and how many files it holds. A line under it reads Linked album, with the album’s name and how many photos it has. Click the album name to open the album.
Putting files in a folder
Click Manage media on the folder. Your library appears under Add media.
Warning
Photos you add here go into the folder’s album on your live website right away. There is no Publish step. Only add photos you are happy for the public to see.
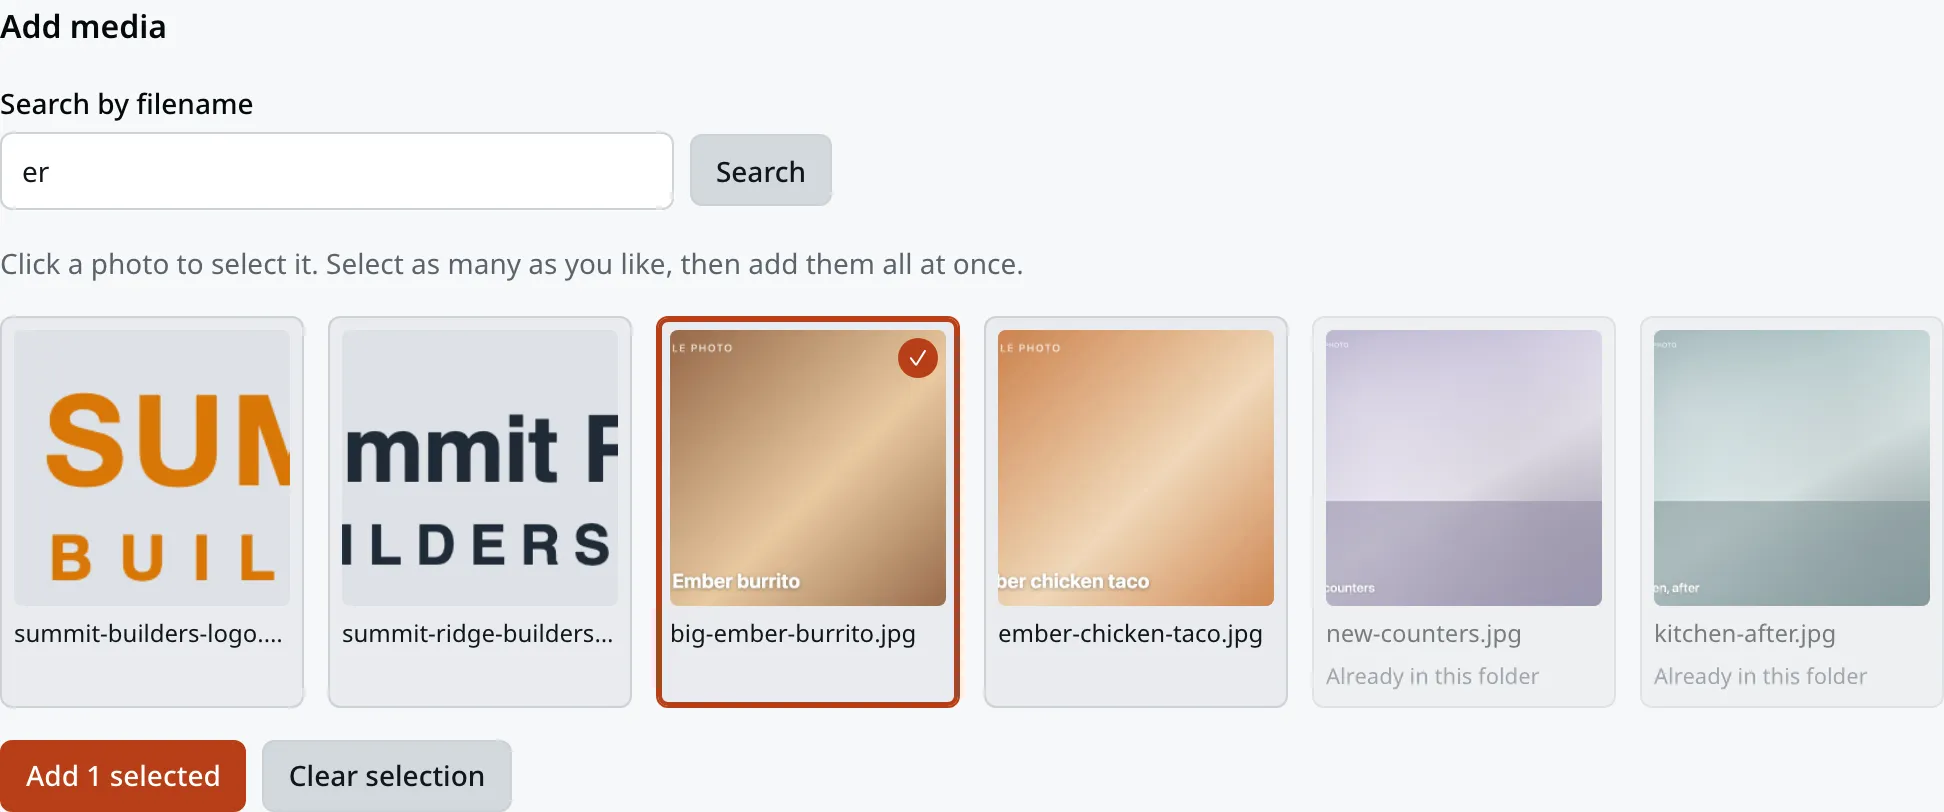
Pick as many as you like, then add them in one go.
- Click a photo. A check mark appears on it.
- Click as many more as you want.
- Click Add … selected at the bottom. The button counts what you picked.
Files already in this folder say Already in this folder and cannot be picked twice.
To take a file out, find it under In this media folder and click Remove. The file stays in your Media Library, and it stays in the album too. To take a photo out of the album, open the album and remove it there. Gallery shows you how.
The folder keeps its own copy of each file’s details, such as its alt text. If you change those in your Media library later, click Re-sync from library. The folder and its album pick up the new details.
Click ← Back to media folders when you are done.
The album on your website
The album is made and published at the same moment as the folder. It is on your Gallery page from the start, and each photo you add shows up there.
If that first publish did not work, the folder shows a box that reads Album not published. Click Publish album under it. The album is on your Gallery page right away.
A few other boxes can show on a folder:
- Photos need descriptions: some photos in the album have no alt text and no caption. Click Edit the album in the box, and describe each photo. Media explains alt text.
- Not syncing - album has an unpublished draft: someone changed the album and did not publish it. New photos wait until that draft is published or thrown away. Then open Manage media and click Re-sync from library.
- The linked gallery album no longer exists. Someone deleted the album. Click Create a new album to make a fresh one. It fills with the photos already in the folder.
Renaming and deleting
To change a folder’s name, click Rename under it. Type the new name in Folder name, and click Save changes. The album keeps its own name.
Warning
Delete removes the folder. Your browser asks you to confirm first.
Nothing else goes. Every file stays in your Media Library, and the album stays as it is, with the photos it already has. You are only throwing away the grouping.
Everything else about photos, uploading them, writing alt text, using them on a page, is on the Media page.
Last updated Oct 20, 2026