

Content
Contact Methods
Phone numbers, email addresses, and physical addresses.
Contact Methods is the list of ways a customer can reach you: your phone, your email, your address.
It lives on the SEO page, as one of four cards on the Business info tab:
- Go to Plugins, then Content Tools, then SEO.
- Click the Business info tab.
- Find the Contact methods card.
Only Editors and Admins can open this tab. Each card saves on its own. Business Profile explains the checks at the top of a card, and how Save and Publish work there.
Where the list shows up
In the column beside the form on your Contact page, and in the same column on your quote page. Search engines also read your phone number and email address from here.
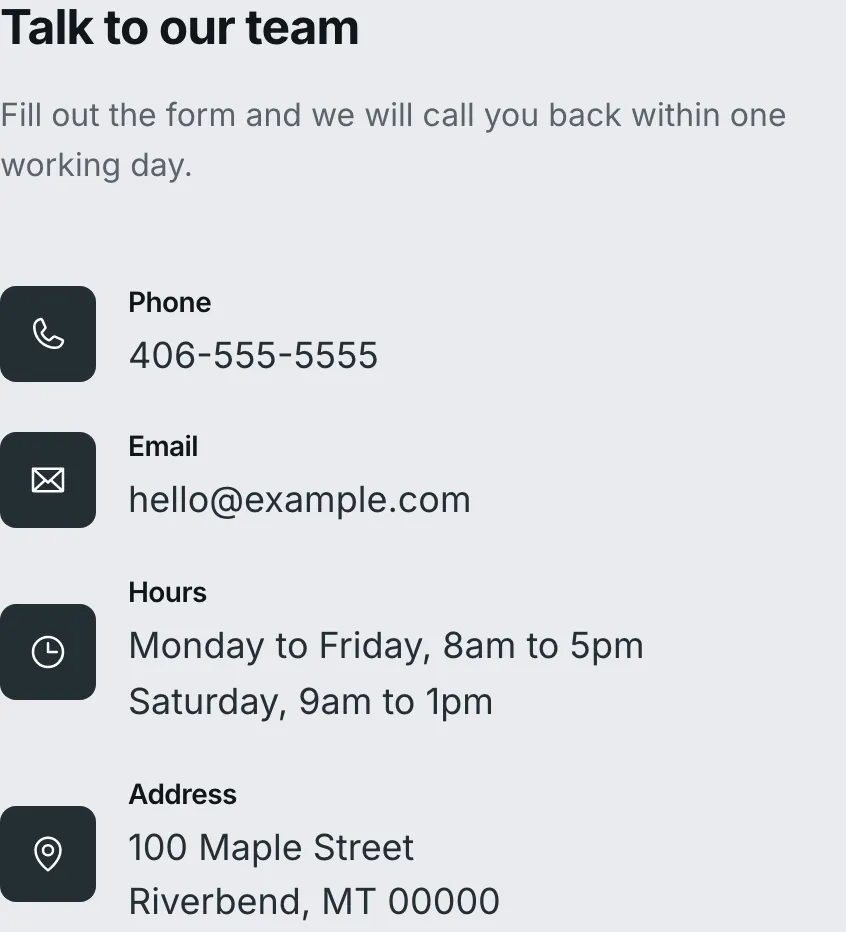
One row here is one row on the page. The address is the odd one out.
The address in that picture was not typed here. When this card has no address row, your website falls back to the address on Business Profile, so you only ever type it once. Add an address row here and it wins instead.
If you have branches, that fallback address is your main branch’s instead. With two or more branches, the Contact page also lists every branch under this column.
Some footers show your phone, email and address too. They read this same list.
The two boxes at the top
Heading is the title above the list, such as “Call or write to us”. Leave it blank and it reads “Contact us”.
Intro line is the sentence under it. Write it for someone about to fill in the form. Leave it blank and no line shows.
Important
Your quote page ignores both of these. It has its own wording, set when we built your site, because a quote request is a different sort of message. The rows below still show on both pages.
The rows
One row is one way to reach you. Each row has four boxes.
Type. Click the box and pick one: Email, Support, Sales, Phone, Mobile, Fax, Address, Hours or Website. The type sets the small icon and the little heading on the page.
Value. What you want printed: the number, the address, the words. Press Enter inside this box to start a new line. An address needs two lines, one for the street and one for the town.
Label. Changes the little heading. Leave it empty and the heading is the type you picked. Set it to “Job line” and that is what the page says.
Link. Points the row somewhere of your choosing, such as a map link on an address row. Leave it empty for the usual link.
At the end of each row, ↑ and ↓ move it up or down. The page prints the rows in the order you see here, top to bottom. Remove takes the row out.
What each type does on the page
Phone and Mobile turn into a tap to call link. Someone on a phone taps
it and their dialer opens with your number in it. Type the number the way you
want it read, such as (555) 555-0142, and your website tidies it up for the
dialer on its own.
Email, Support and Sales turn into a mail link. Clicking it opens the visitor’s mail app with your address filled in.
Address, Hours and Fax print as plain words with an icon. They are not links, unless you fill in Link.
Website turns into a link to the address you type. It opens in a new tab.
Adding a way to reach you
Warning
Everything in this list is how customers find you. One wrong digit in a phone number and the calls stop, with nothing on the page to show anything is amiss.
Check the number against your own phone before you save it.
- Click Add contact method. An empty row opens at the bottom.
- Pick the Type.
- Type what you want printed into Value.
- Use ↑ and ↓ to put the row where you want it.
- Click Save at the bottom of the card. Your website changes right away.
- Open your Contact page on your live website and read the row back.
That last step is the one worth keeping. Tap the number on your own phone and let it ring once.
Changing or removing a row
To change one, type over what is in the boxes, then click Save at the bottom of the card.
Warning
Removing a row takes that way of reaching you off the page as soon as you save. Anyone who was about to call that number sees nothing there.
To remove one, click Remove on its row, then click Save.
Changed your mind before saving? Discard changes puts the card back the way it was.
Last updated Oct 20, 2026